Learn how to expertly design and print personalized thank you cards in bulk using Canva's Bulk Create feature, ideal for busy educators.
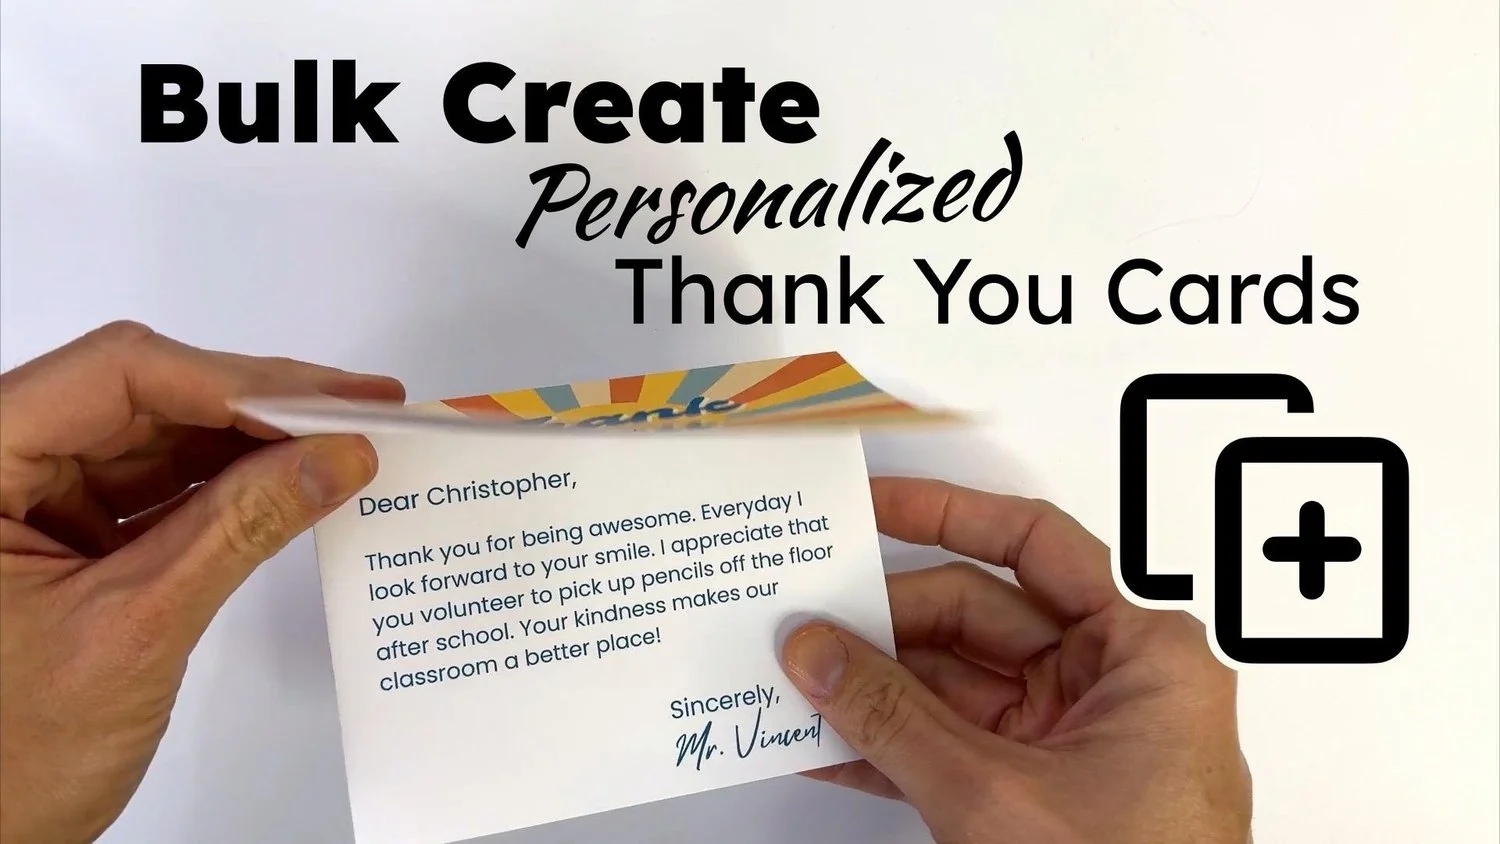
Handwritten thank-you cards hold a special charm, but for teachers juggling numerous tasks, they can become a daunting challenge. If typing is more your style, Canva offers a streamlined approach to designing, personalizing, and printing a batch of thank-you cards effectively.
Utilizing the Bulk Create function in Canva, this method requires either a Pro account or a free Canva for Education account, available to qualifying K-12 teachers. It's important to note that Bulk Create is only available on the desktop version of Canva, so make sure you're not trying to execute this on a mobile app.
Designing Your Thank You Cards
Create a New Design
Access Canva.com and choose to create a new design with custom dimensions.
Change the measurement units to inches and set the dimensions to 11 inches in width and 8.5 inches in height.
Click on the button to create your new design.
With a blank canvas ready, the next step involves partitioning the page.
Divide the Page into Fourths
Go to the File menu, select Settings, and then click on Add guides.
In the Custom setting, configure it to have 2 columns and 2 rows, ensuring that the gap and margin settings are set to zero.
After adding the guides, purple lines will outline your divisions, which won’t appear in the final print.
Designing the Front of the Card
Focus on the upper right section of your divided canvas for the front of the card. Here, you can either use a preexisting Canva template or mix fonts, shapes, and other elements to create a unique design. Incorporating the recipient’s name on the front is a nice touch; input the longest name you’ll be using, such as "Christopher," to ensure it fits all name lengths.
When the front design is complete, select everything (using Control or Command + A) and rotate it upside down to prepare for printing.
Designing the Inside of the Card
For the interior, create separate text boxes to include the date, recipient name, and your message. Craft a sample message that accommodates the longest expected entry to fit smoothly in the text box. Additionally, consider how you'll sign your name, either by drawing it with the pen tool, using a handwritten font, or leaving a space for your signature after printing.
If you prefer a ready-made option, you can copy my Thank You Card template on Canva, adjust it as needed, and proceed with the next steps.
Preparing Your Data
Compose Messages in a Spreadsheet
Create a spreadsheet in Google Sheets, Excel, or Numbers with columns labeled Date, Name, Dear Name, and Message. Each row will correspond to a single thank-you card.
The "Dear Name" column is particularly important as it directly ties into the Bulk Create process, containing full greetings (e.g., "Dear Christopher,"). Be sure to include punctuation as it will be reflected in the final design. Once completed, save your spreadsheet as an XLSX or CSV file on your desktop.
Alternatively, for a more interactive approach, consider using a Google Form to collect data, which will automatically generate a spreadsheet.
Using Bulk Create
With your card design open in Canva, navigate to the sidebar and select Apps.
Type in “Bulk create” and hit Enter on your keyboard.
Click on the Bulk Create icon and then on the Update Data button.
Select the saved XLSX or CSV file from your desktop.
For each text box on your design, right-click and connect the relevant data field.
Finally, click Continue followed by Generate Designs.
A new Canva design will pop up, showcasing various pages, each representing a different thank-you card.
Final Touches
Download and Print
Navigate to the File menu and choose Download, switching the file type to PDF Print.
Download and save the PDF.
Open the downloaded PDF in your preferred PDF viewer.
Proceed to print your cards.
Folding the Cards
Fold each printed card in half with the printed sides facing outwards.
Then, fold them in half once more to complete the card.
While the bulk creation process requires several steps, once you've established your workflow, you can reuse your designs for future batches, enhancing efficiency. This feature is also applicable for producing certificates, tailored learning materials, and personalized assignments.



Discussion
Sign in to join the discussion.